环境
操作系统: Windows11
显卡: RTX2060 6GB 显存
安装Python
- 下载 Python3.10.6
https://www.python.org/ftp/python/3.10.6/python-3.10.6-amd64.exe
- 安装
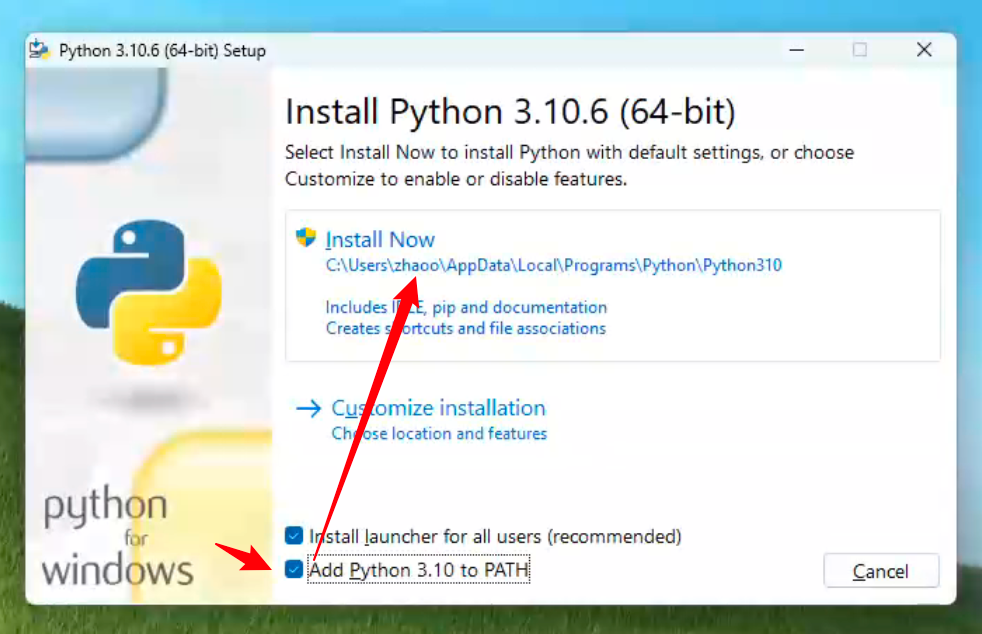
注意勾选 Add Python 3.10.6 to PATH ,然后一路下一步即可
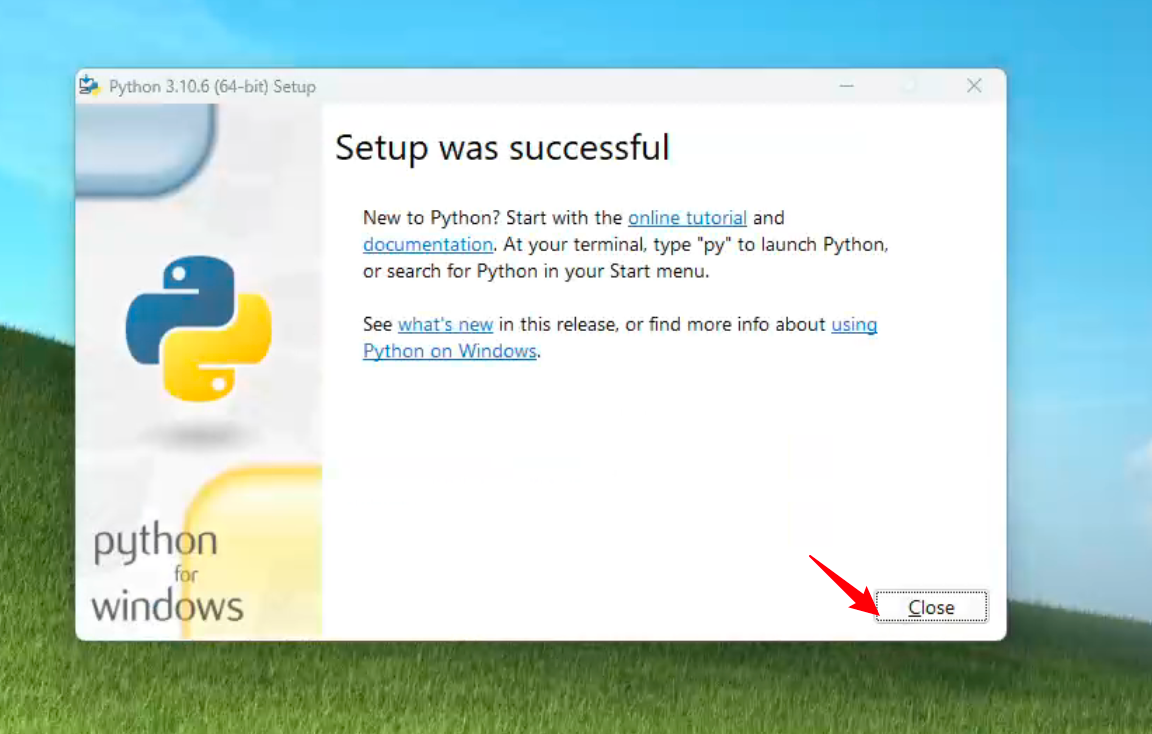
- 打开powershell, 确认安装成功
python --version

安装git
- 下载git
https://github.com/git-for-windows/git/releases/download/v2.41.0.windows.1/Git-2.41.0-64-bit.exe
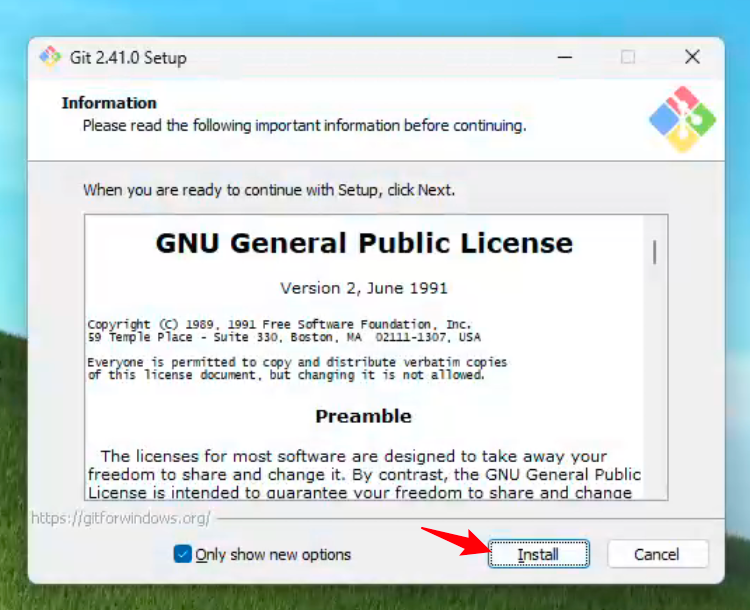
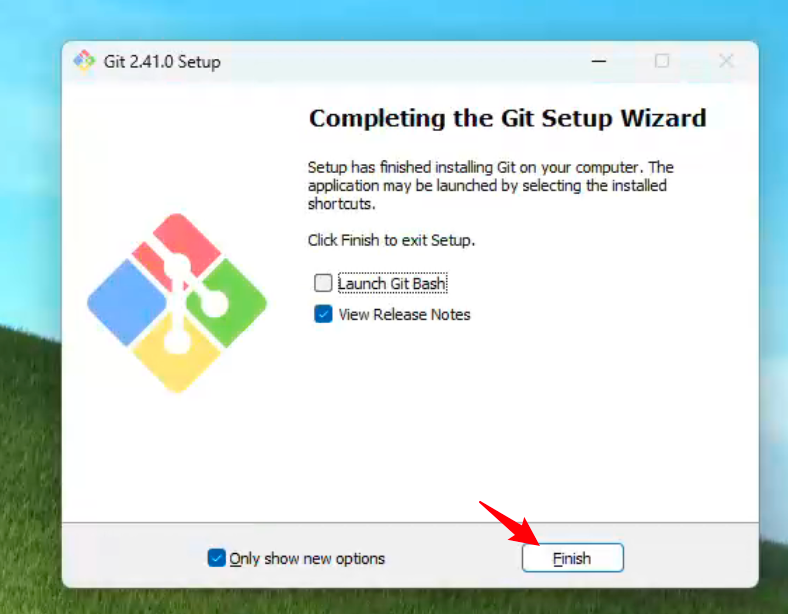
完成安装
通过命令行git,下载开源项目
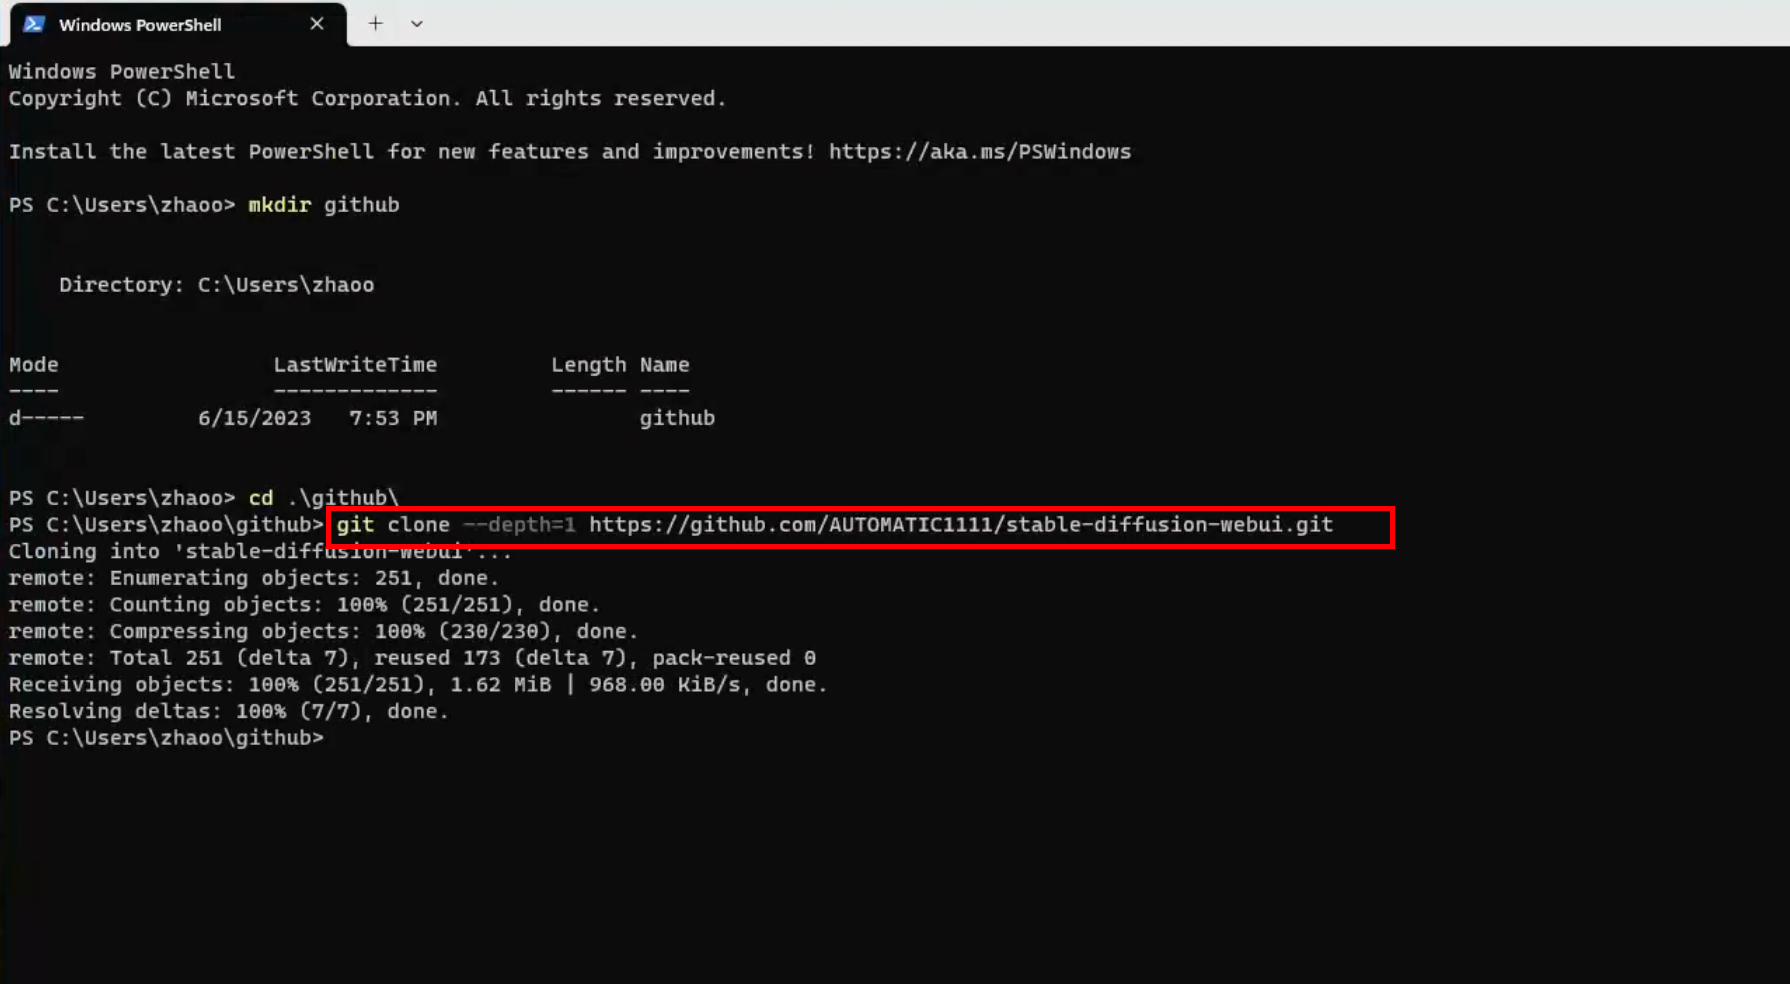
- 为了避免找不到开源项目,可以像上图中的我一样, 先在用户目录建立一个github文件夹,进入文件夹后,再下载开源项目
mkdir github
cd github
- 下载
git clone --depth=1 https://github.com/AUTOMATIC1111/stable-diffusion-webui.git
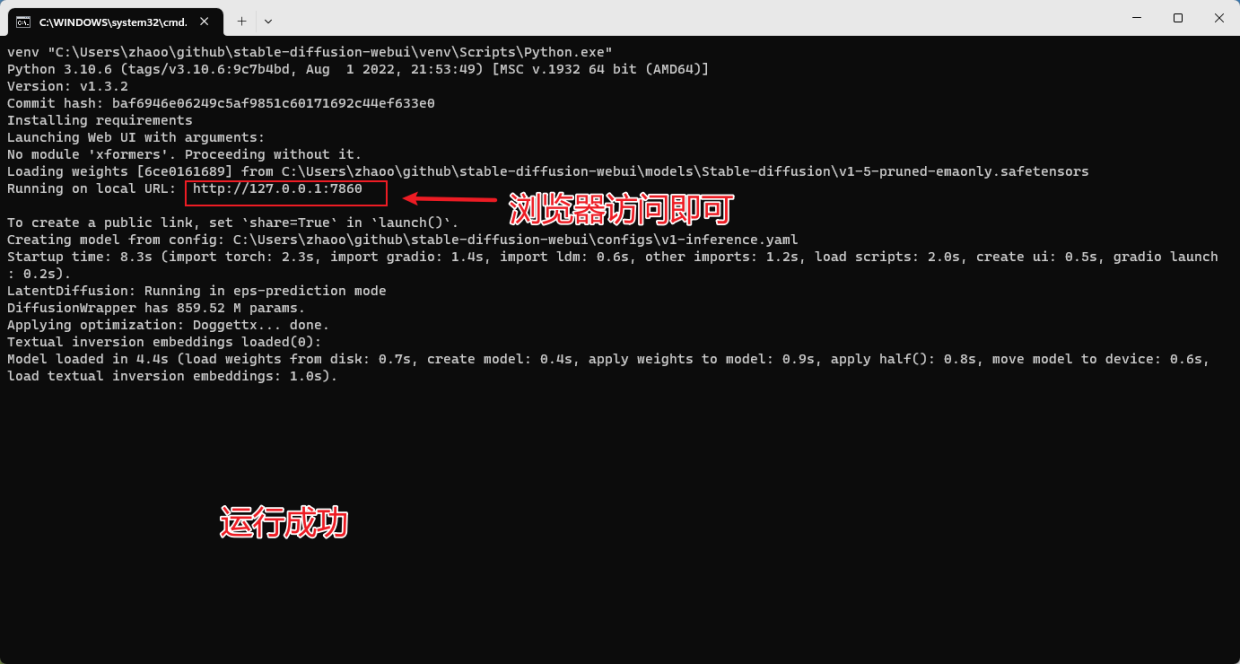
打开下载stable-diffusion-webu的目录, 双击运行webui-user.bat 脚本,脚本将从网络下载依赖包
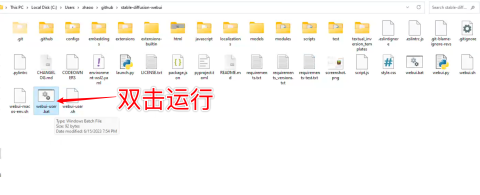
- 依赖包安装成功后,即可自动运行,浏览器访问
http://127.0.0.1:7860即可
模型都存储在 stable-diffusion-webui/models/Stable-diffusion
从https://civitai.com/ 下载优质模型
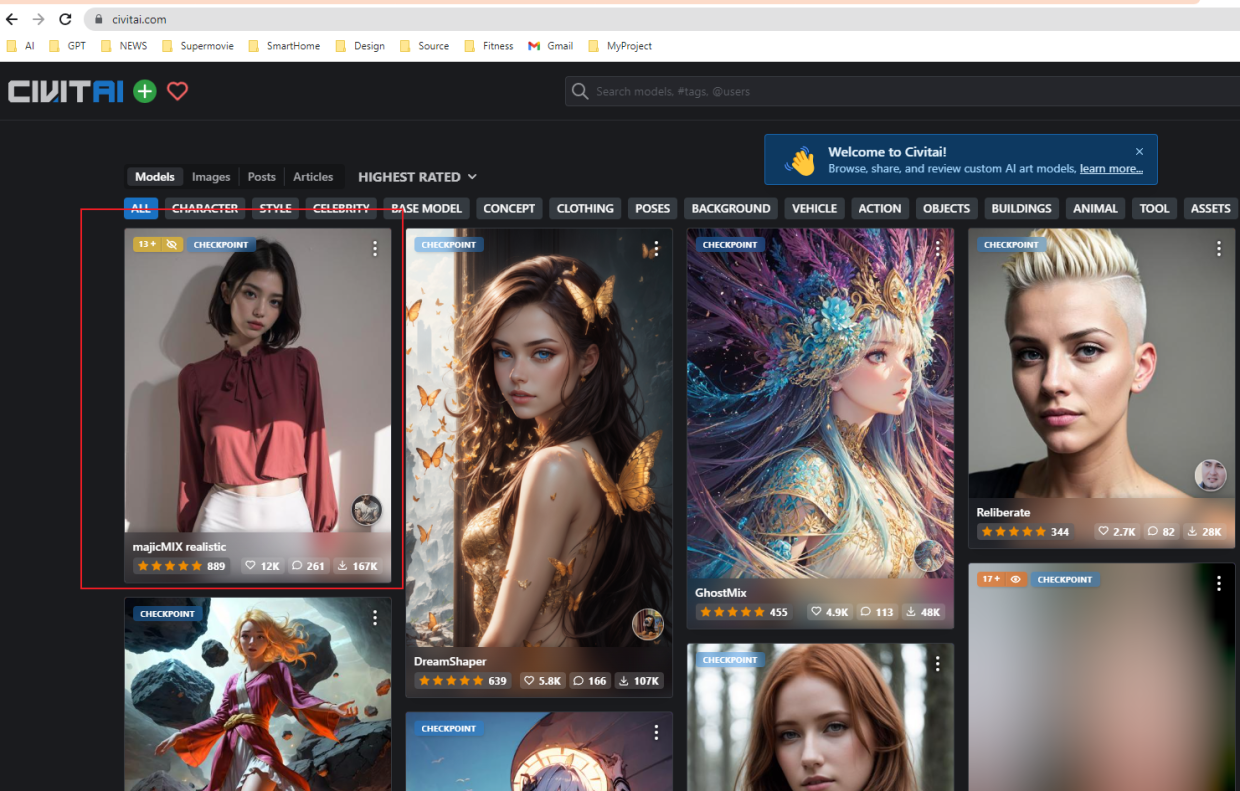
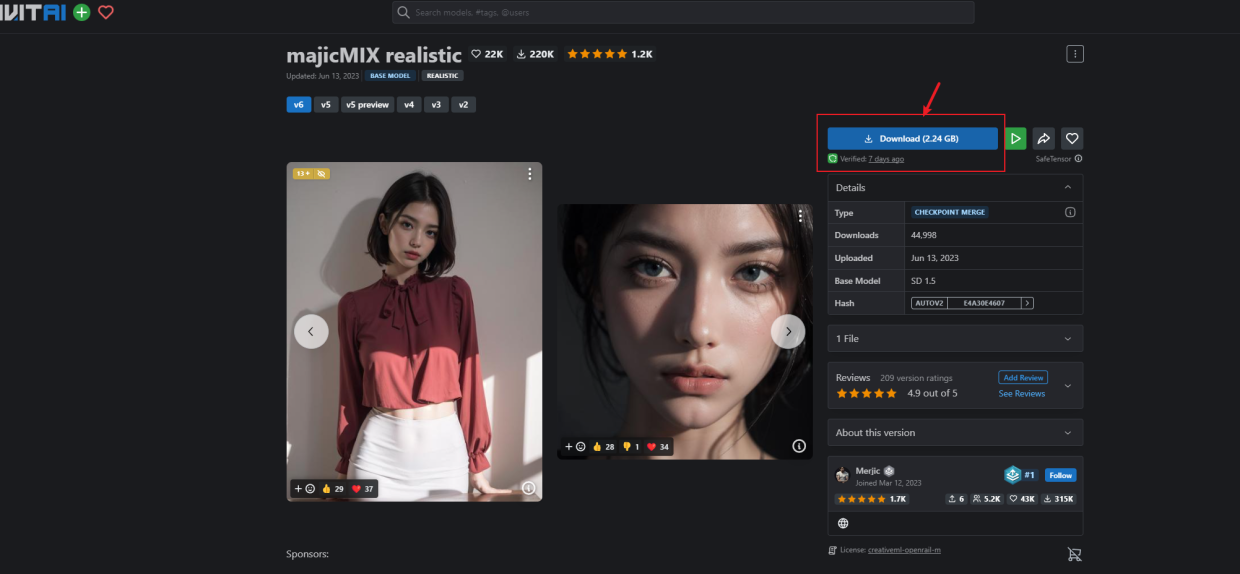
模型地址 https://civitai.com/models/43331/majicmix-realistic
将下载的模型放入目录stable-diffusion-webui\models\Stable-diffusion
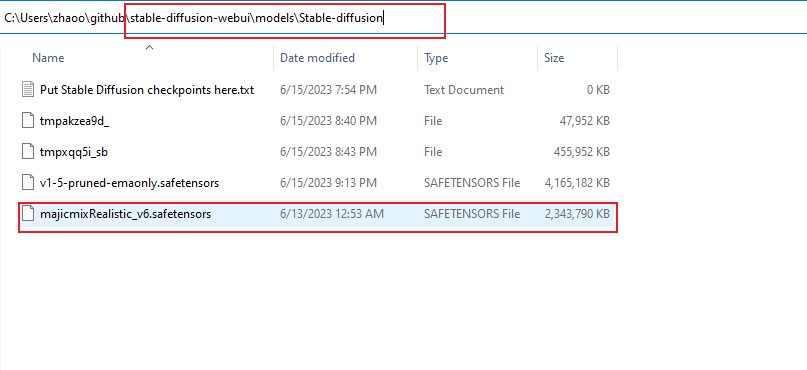
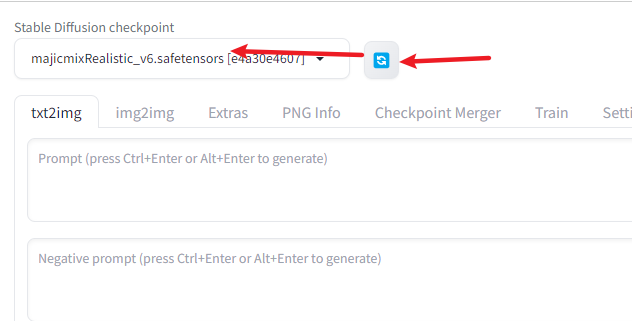
在webui中刷新并选择刚刚放入的模型
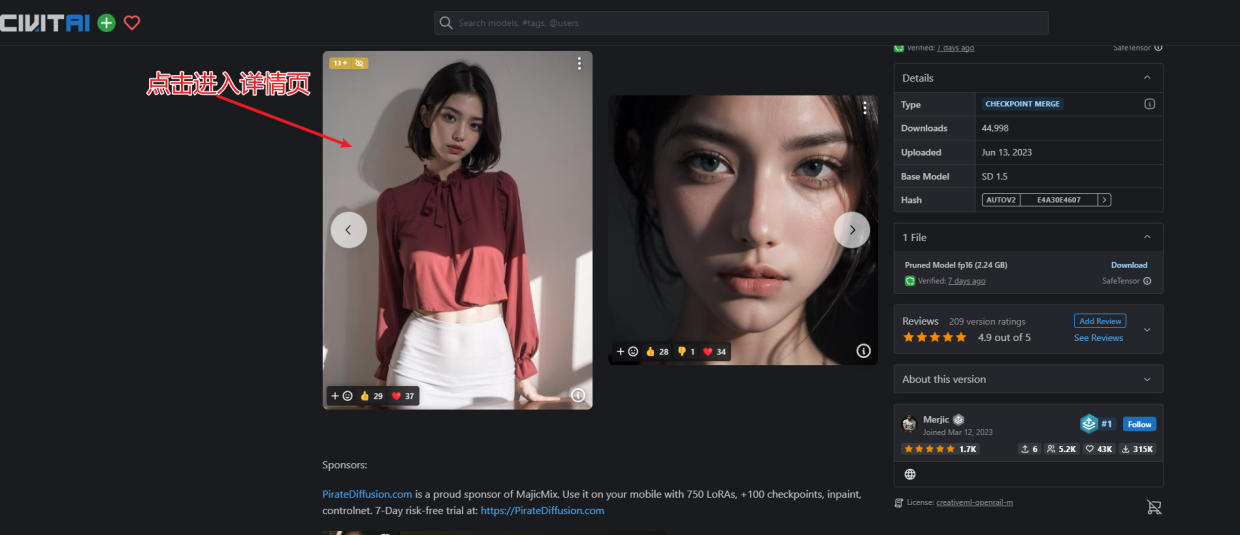
点击喜欢的作品进入详情页
复制参数
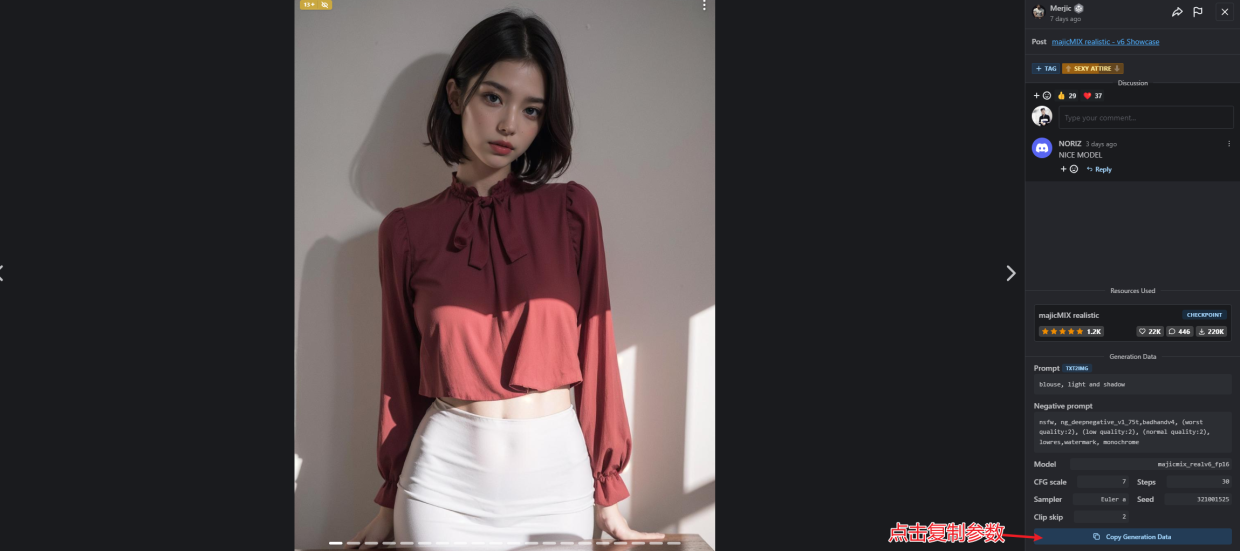
blouse, light and shadow
Negative prompt: nsfw, ng_deepnegative_v1_75t,badhandv4, (worst quality:2), (low quality:2), (normal quality:2), lowres,watermark, monochrome
Size: 512x683, Seed: 321001525, Model: majicmix_realv6_fp16, Steps: 30, Sampler: Euler a, CFG scale: 7, Clip skip: 2, Model hash: e4a30e4607, Hires steps: 25, Hires upscale: 2, ADetailer conf: 30, Hires upscaler: 8x_NMKD-Superscale_150000_G, ADetailer model: face_yolov8s.pt, ADetailer version: 23.5.6.post0, ADetailer x offset: 0, ADetailer y offset: 0, Denoising strength: 0.14, ADetailer CFG scale: 7.0, ADetailer mask blur: 4, ADetailer dilate/erode: 8, ADetailer inpaint full: True, ADetailer inpaint width: 512, ADetailer inpaint height: 512, ADetailer inpaint padding: 0, ADetailer denoising strength: 0.12, ADetailer use inpaint width/height: True
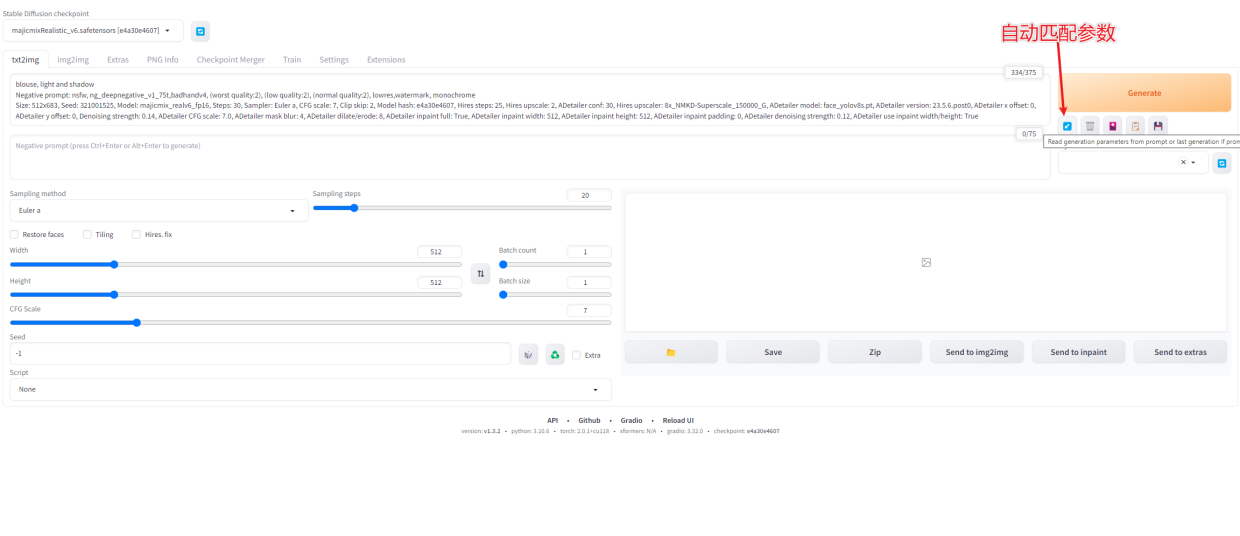
粘贴参数
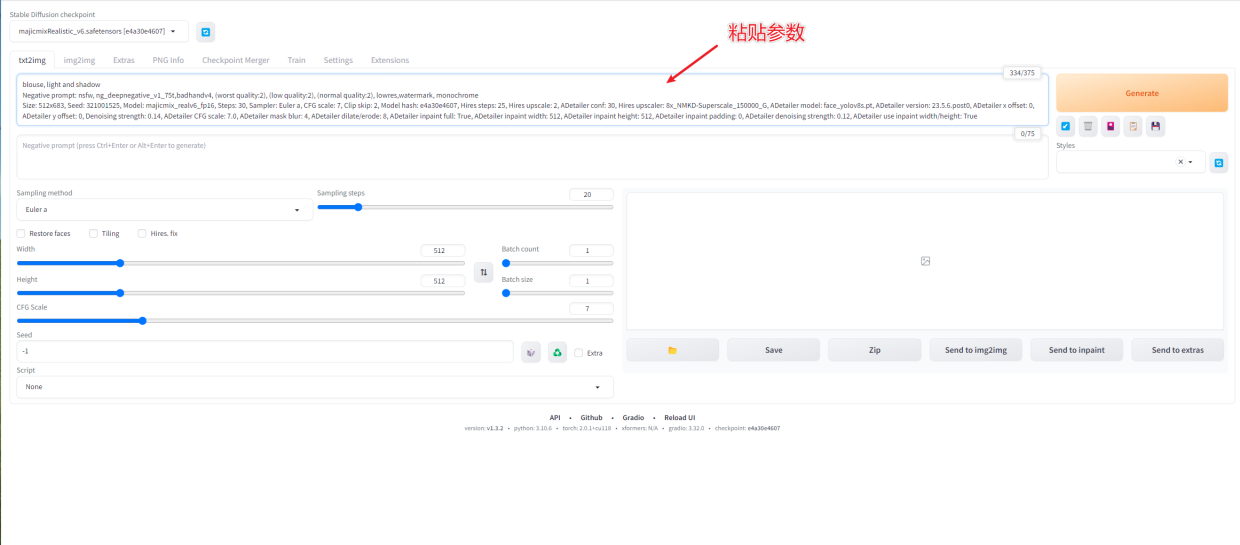
自动匹配参数
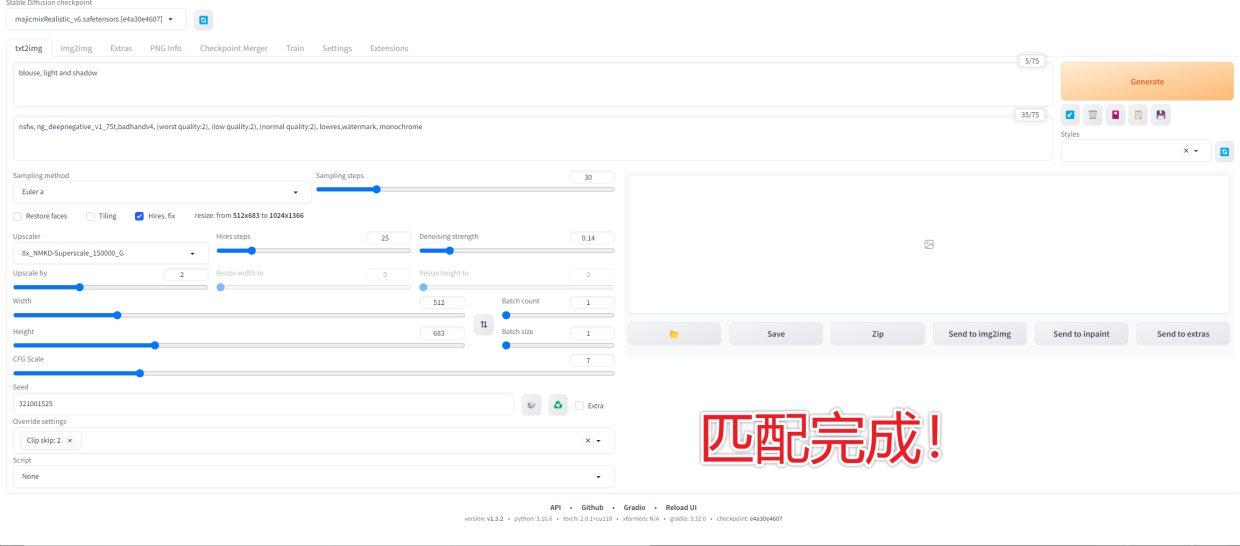
匹配完成
生成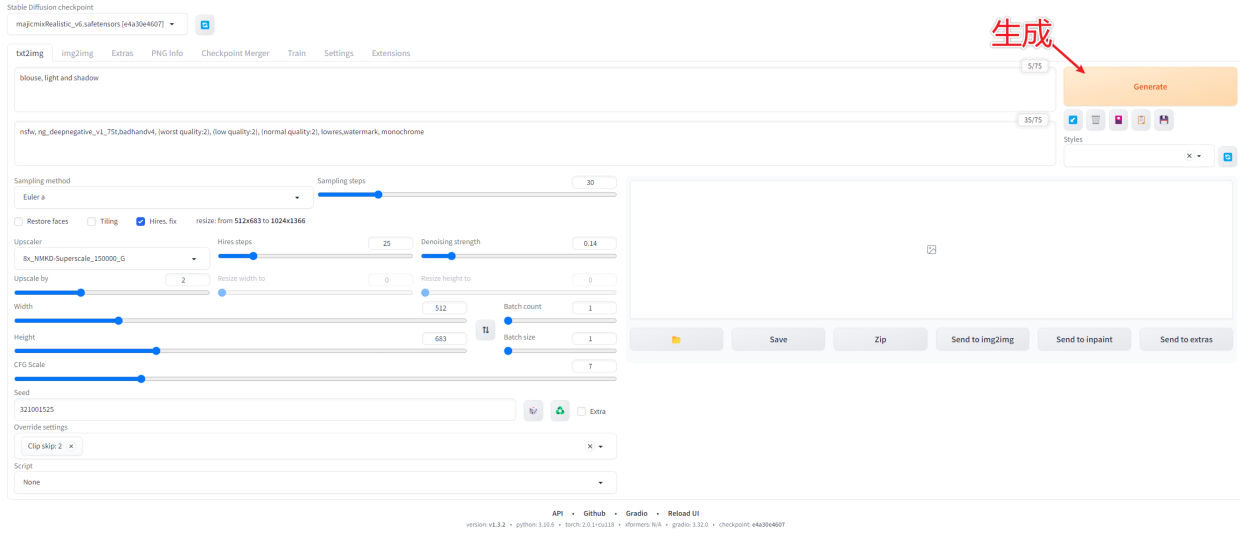
报错缺失名为8x_NMKD-Superscale_150000_G 的 upscaler
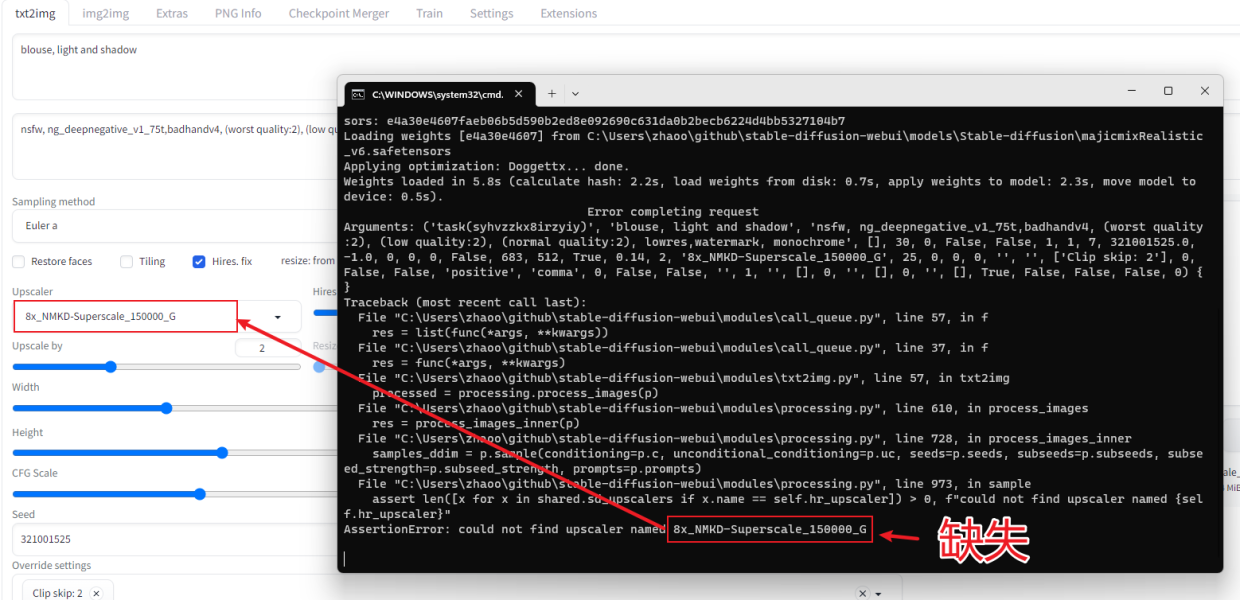
google搜索搜索8x_NMKD-Superscale_150000_G
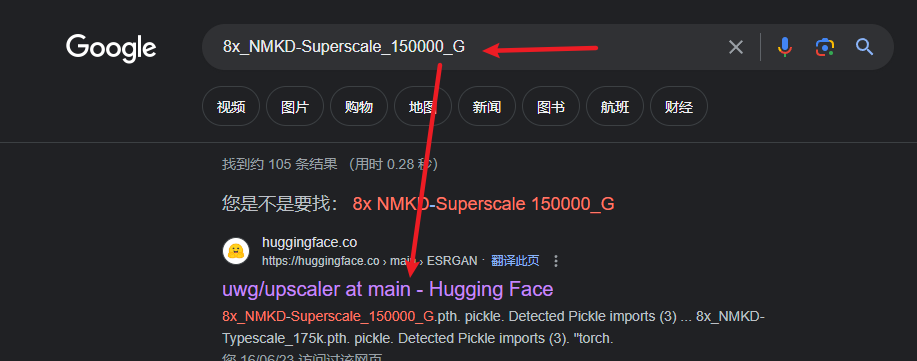
进入 https://huggingface.co/uwg/upscaler/tree/main/ESRGAN,下载
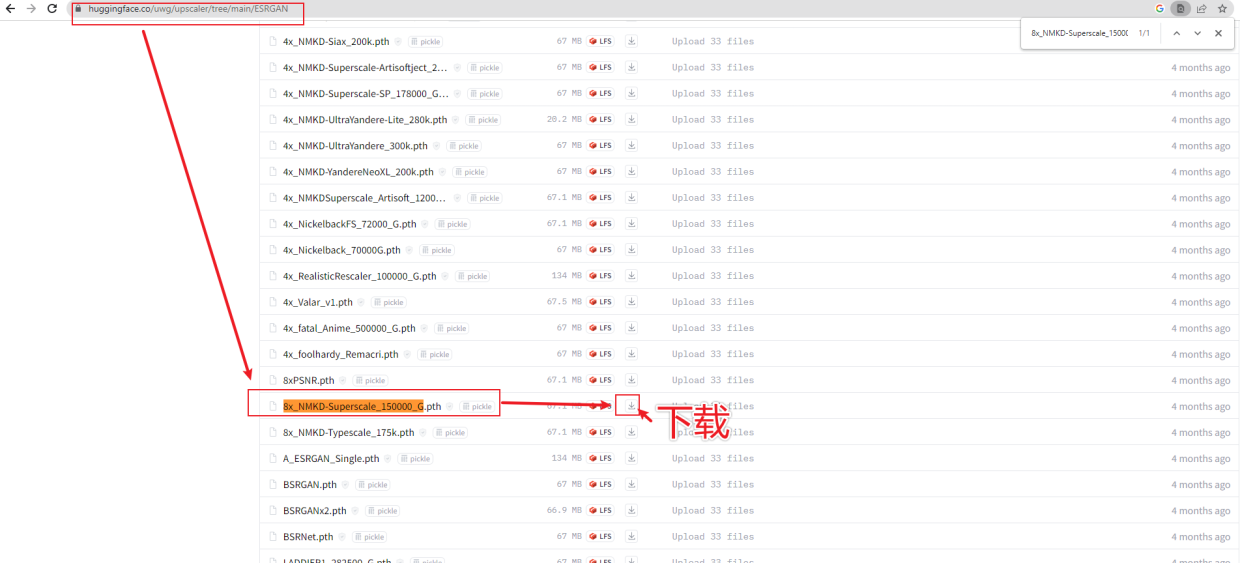
将下载好的文件** 8x_NMKD-Superscale_150000_G.pth
**放入stable-diffusion-webui\models\ESRGAN

重启stable-diffusion-webui ,刷新webui页面,重新录入参数,点击Generate生成图片
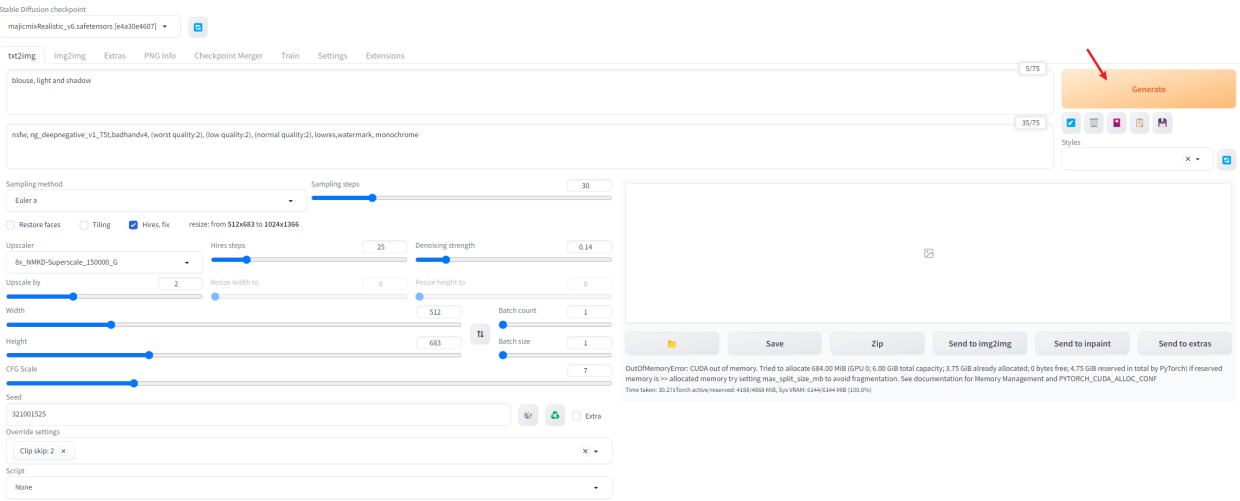
如果图片生成失败,爆显存
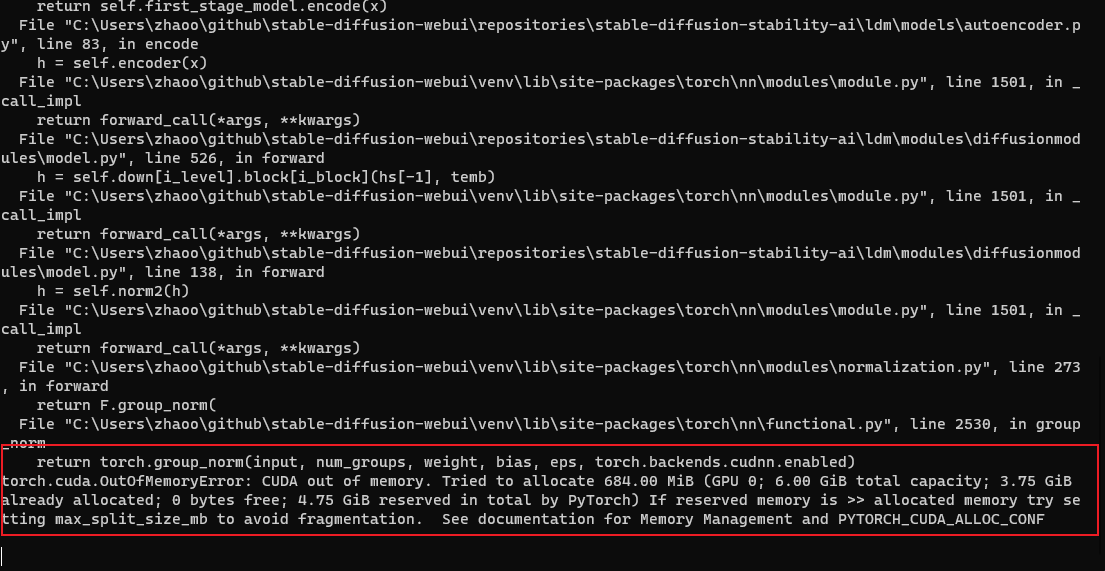
查阅https://github.com/AUTOMATIC1111/stable-diffusion-webui/wiki/Optimizations
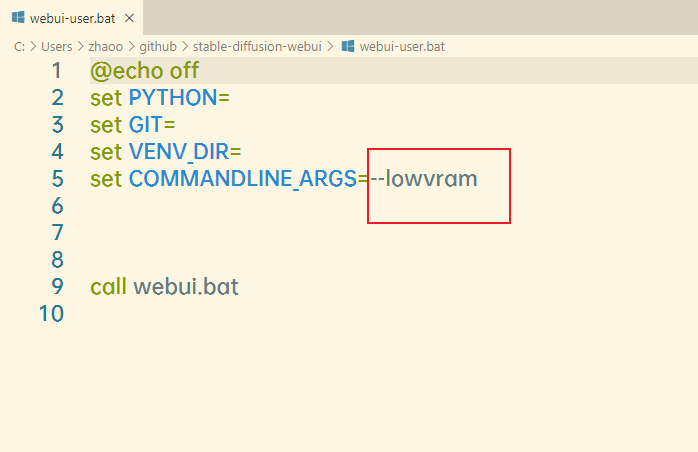
在webui-user.bat中添加--lowvram , 这里启用低内存模式,用时间换空间(N卡氪金不足,自然生成就要慢一些)
重启stable-diffusion-webui ,刷新webui页面,重新录入参数,点击Generate生成图片
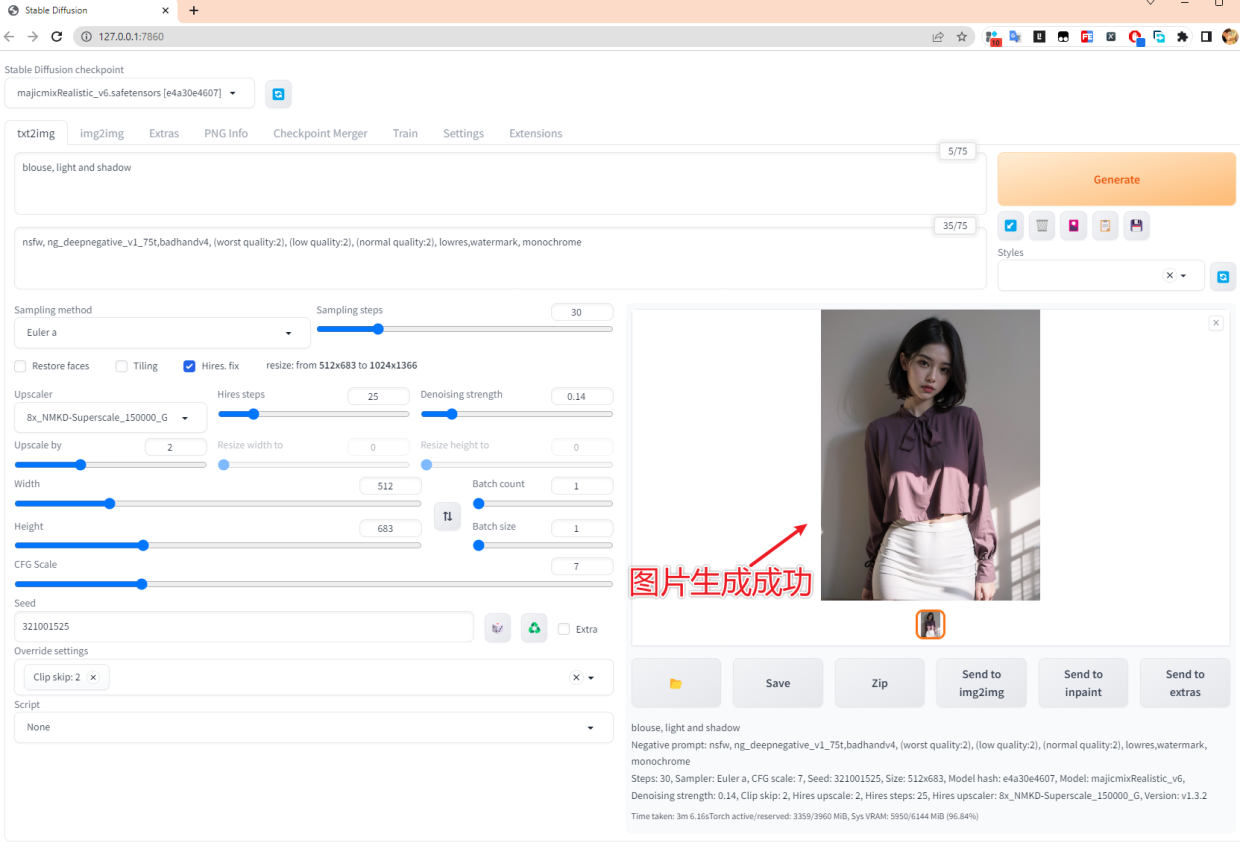
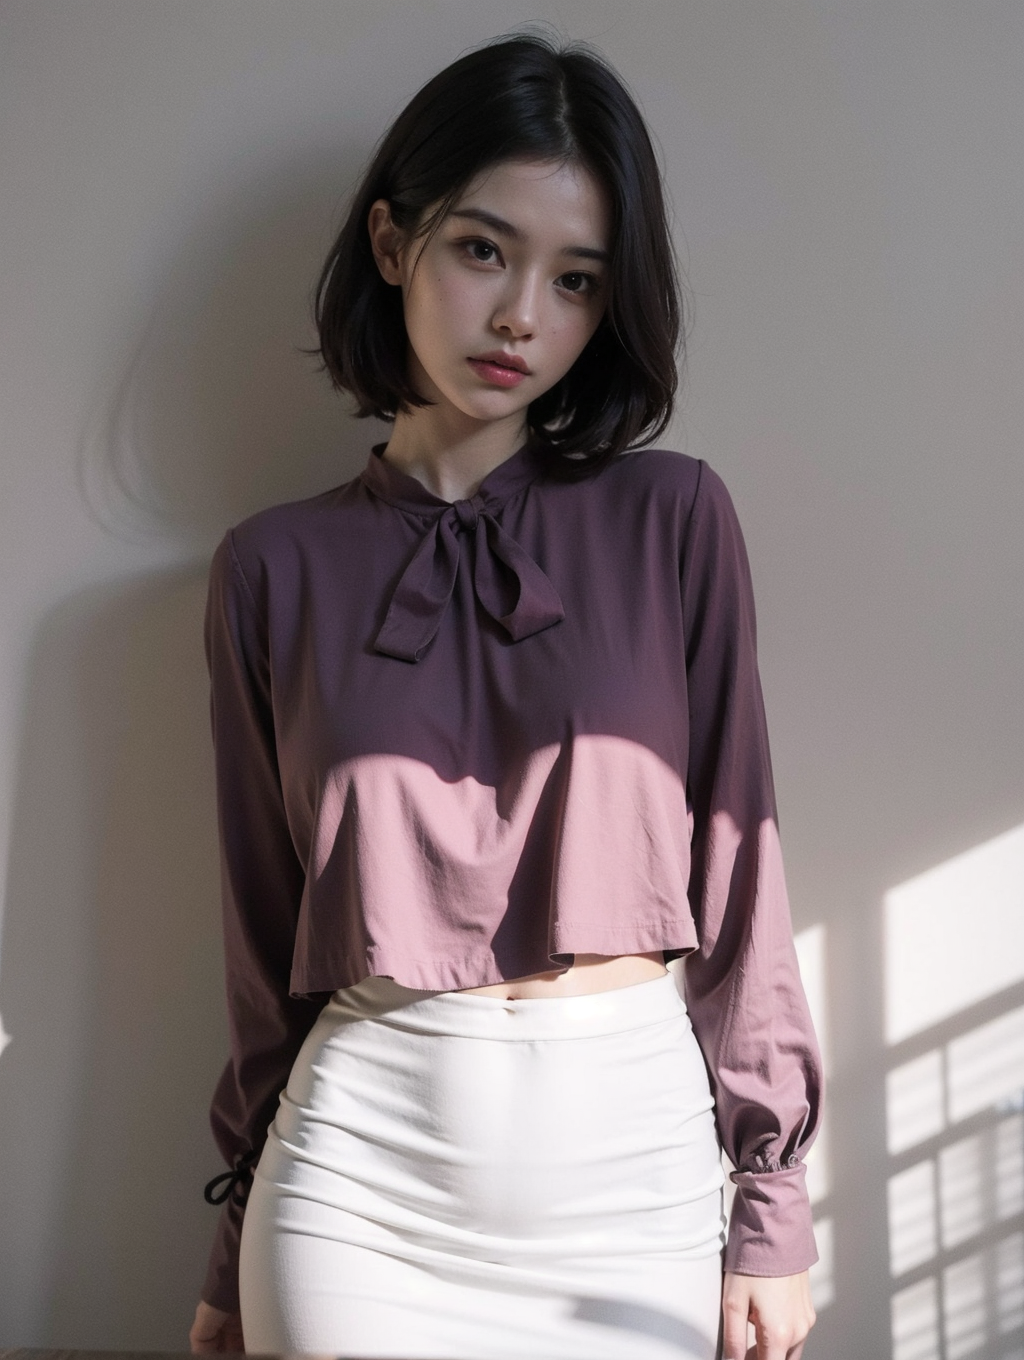
我们可以还改变种子,生成类似的图片

比如我将种子设置为321001543 就可以生成这样一张图片


我们也可以设置随机种子,连续生成多张
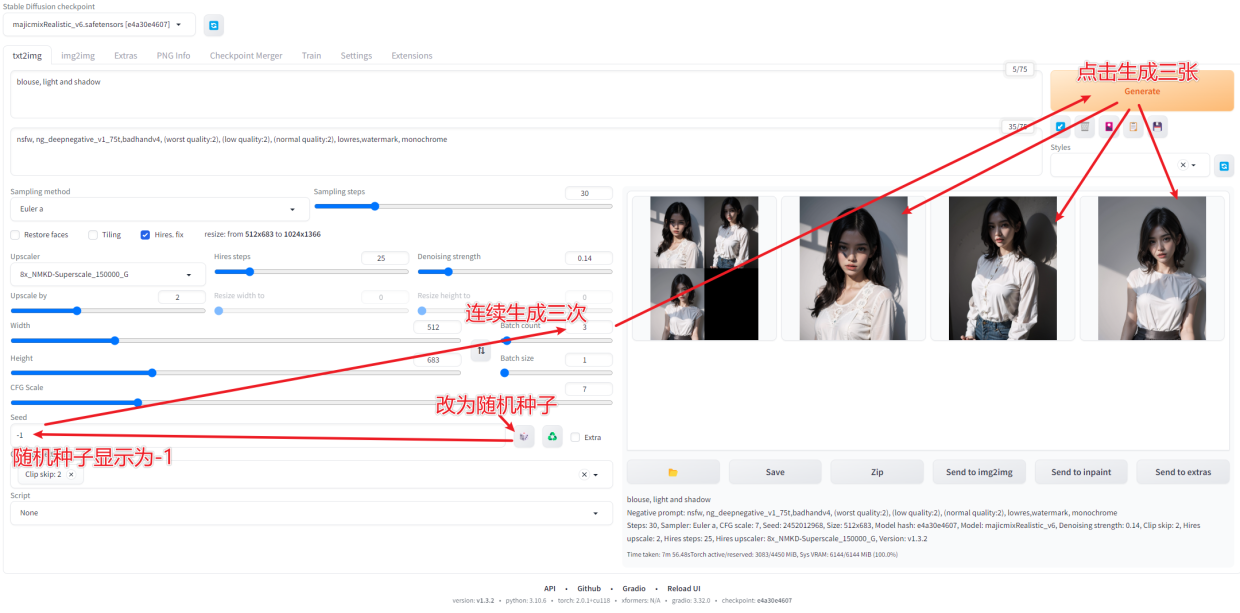
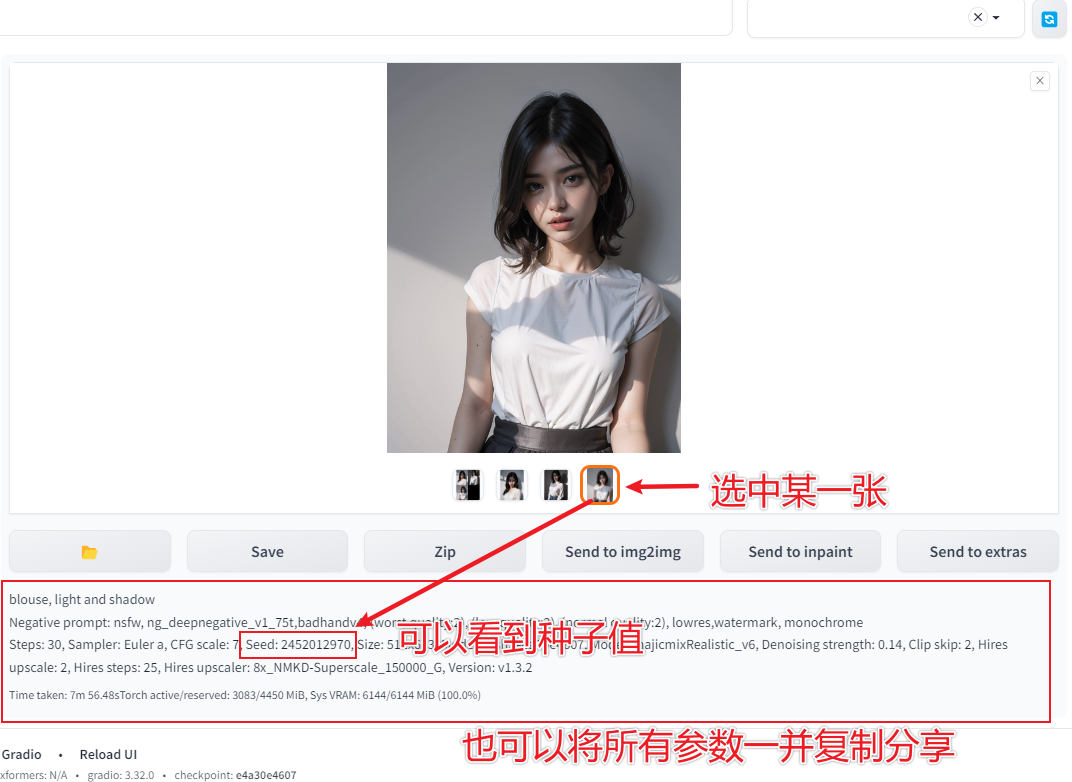

blouse, light and shadow
Negative prompt: nsfw, ng_deepnegative_v1_75t,badhandv4, (worst quality:2), (low quality:2), (normal quality:2), lowres,watermark, monochrome
Steps: 30, Sampler: Euler a, CFG scale: 7, Seed: 2452012970, Size: 512x683, Model hash: e4a30e4607, Model: majicmixRealistic_v6, Denoising strength: 0.14, Clip skip: 2, Hires upscale: 2, Hires steps: 25, Hires upscaler: 8x_NMKD-Superscale_150000_G, Version: v1.3.2
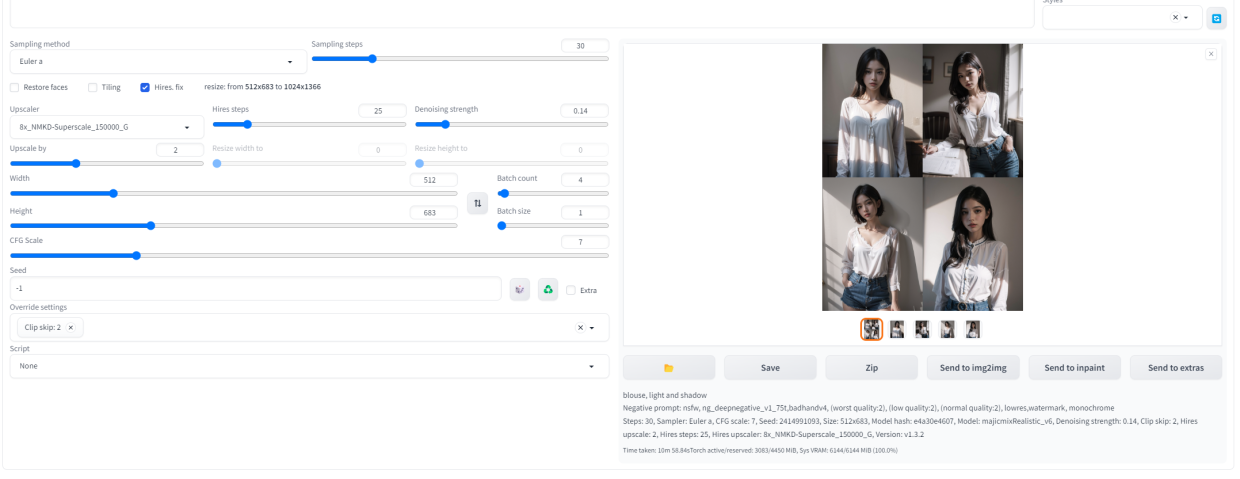
最后,放一张四联图

 文章来源:https://uudwc.com/A/2z6qy
小结
从社区下载安装Stable Diffusion 大模型颇有一种为PhotoShop安装滤镜库的感觉,stable diffusion 明显要更高级一些,可以通过随机种子文生图,产出极品图片。文章来源地址https://uudwc.com/A/2z6qy
