[spring boot] spring boot 简述,devtool 配置,actuator 简述,即 properties 配置
[maven] 创建 spring boot 项目及使用 Jenkins 运行 maven 中提过了怎么创建 spring boot 项目,这里就不多赘述
我是直接从网站上拉了一个 initializer 的 zip,然后拖到 intellij 里面就用了。只要 maven 下载完依赖,再运行 main 即可
这次是重新学习一下 spring 相关的内容,教程倒是决定从 boot 入手,我也就先接触一下 boot,其本身的优点相对于传统 MVC 来说真的还方便蛮多的。
我个人觉得最方便的就是自动配置,这个之前在写 maven 的案例时就发现了,几乎是 0 配置,开箱即用,不用进行 URL 和 controller 之间的 mapping,不用额外下载关联 server(如 tomcat),甚至不需要下载 maven,它直接就有提供可运行用来执行命令,可以直接运行提供的 mvnw 就可以运行 clean, compile, build 等
差不多直接就是开箱即用的方便。因为 0 配置的关系,因此也能有效地提升开发效率,降低开发难度
第二个就是版本管理,做过项目的都知道,一旦项目落地后,想要更新就变得特别头疼……经常出现更新某一个 dependency,其他的 dependencies 就出现兼容问题的情况。spring boot 这一点也解决了,它的 parent 里本身就关联了合适的版本,相当于更新 parent 就能更新所有的版本
其他的包括直接就有微服务、提供 metrics check 等,这个就看项目需求进行配置了
配置 dev tool
默认 spring 是没有能实现热更新,因此需要下载一个 dev-tool 的依赖:
		<dependency>
			<groupId>org.springframework.boot</groupId>
			<artifactId>spring-boot-devtools</artifactId>
		</dependency>
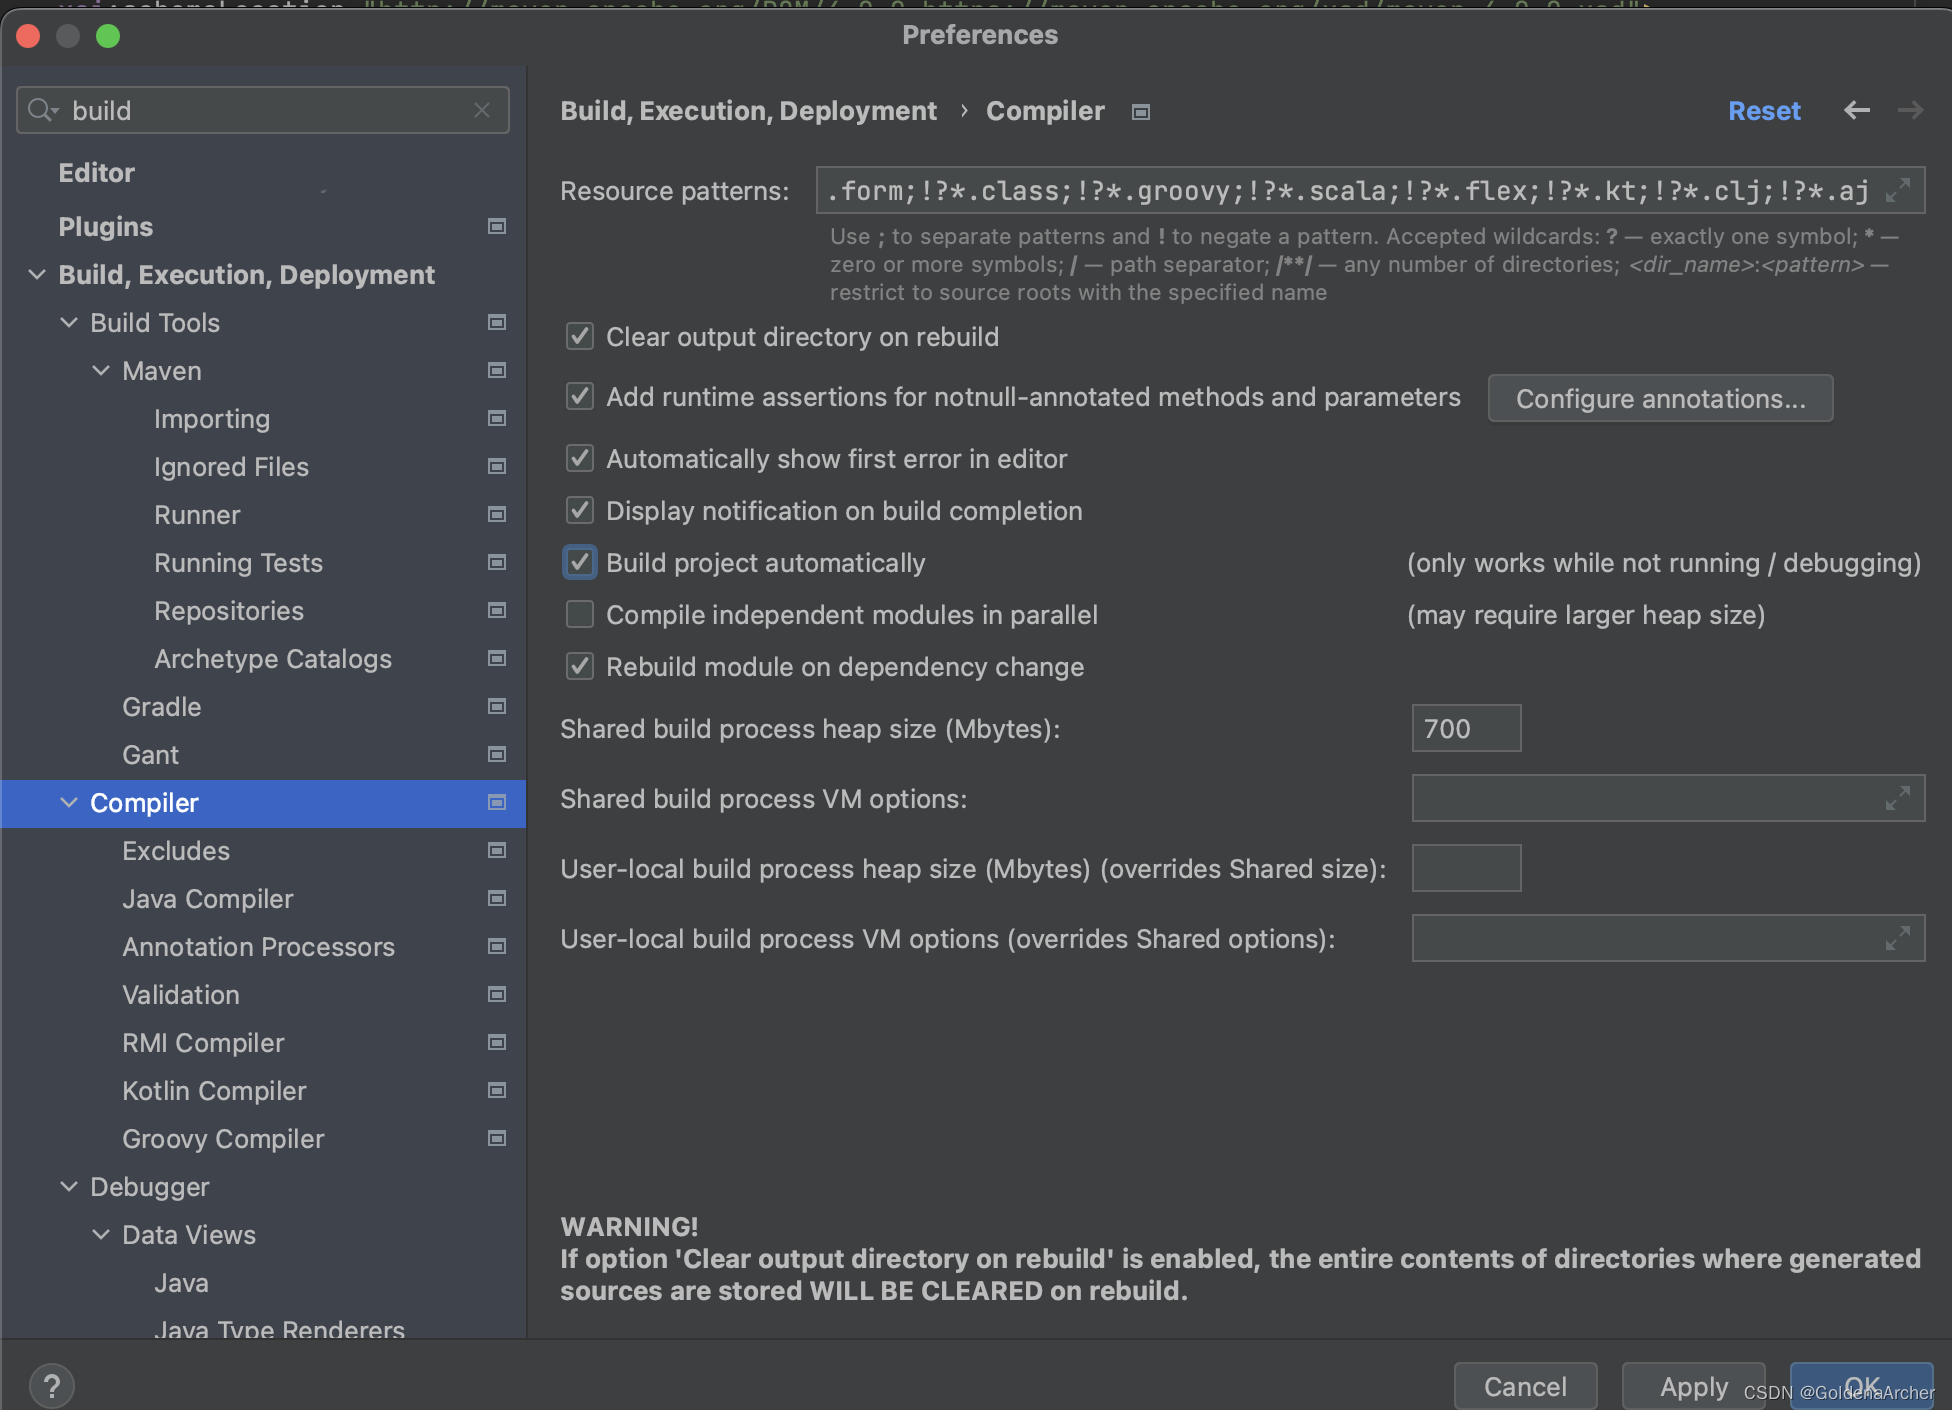
其他 IDE 在下载完后应该就可以完成热更新了,不过 intellij CE 需要加两个额外的配置:
-
勾选
setting > build, exe ... > compiler下的Build project automatically
-
勾选
setting > advanced settings下的allow auto-make ...
完成之后热更新就好了 ✅
创建一个 REST controller
sprint boot 实现 controller 的方式就这么简单:
package com.example.demo.rest;

import org.springframework.web.bind.annotation.GetMapping;
import org.springframework.web.bind.annotation.RestController;

@RestController
public class FirstRestController {
    // expose "/" that return "Hello World"
    @GetMapping("/")
    public String sayHello() {
        return "Hello World";
    }

}
@GetMapping("/") 完成 mapping,返回值即显示的内容

完全 0 配置
actuator
actuator 是一个检测项目指标的一个子项目,这也是 spring boot parent 管理的子项目之一,pom 中的依赖为:
		<dependency>
			<groupId>org.springframework.boot</groupId>
			<artifactId>spring-boot-starter-actuator</artifactId>
		</dependency>
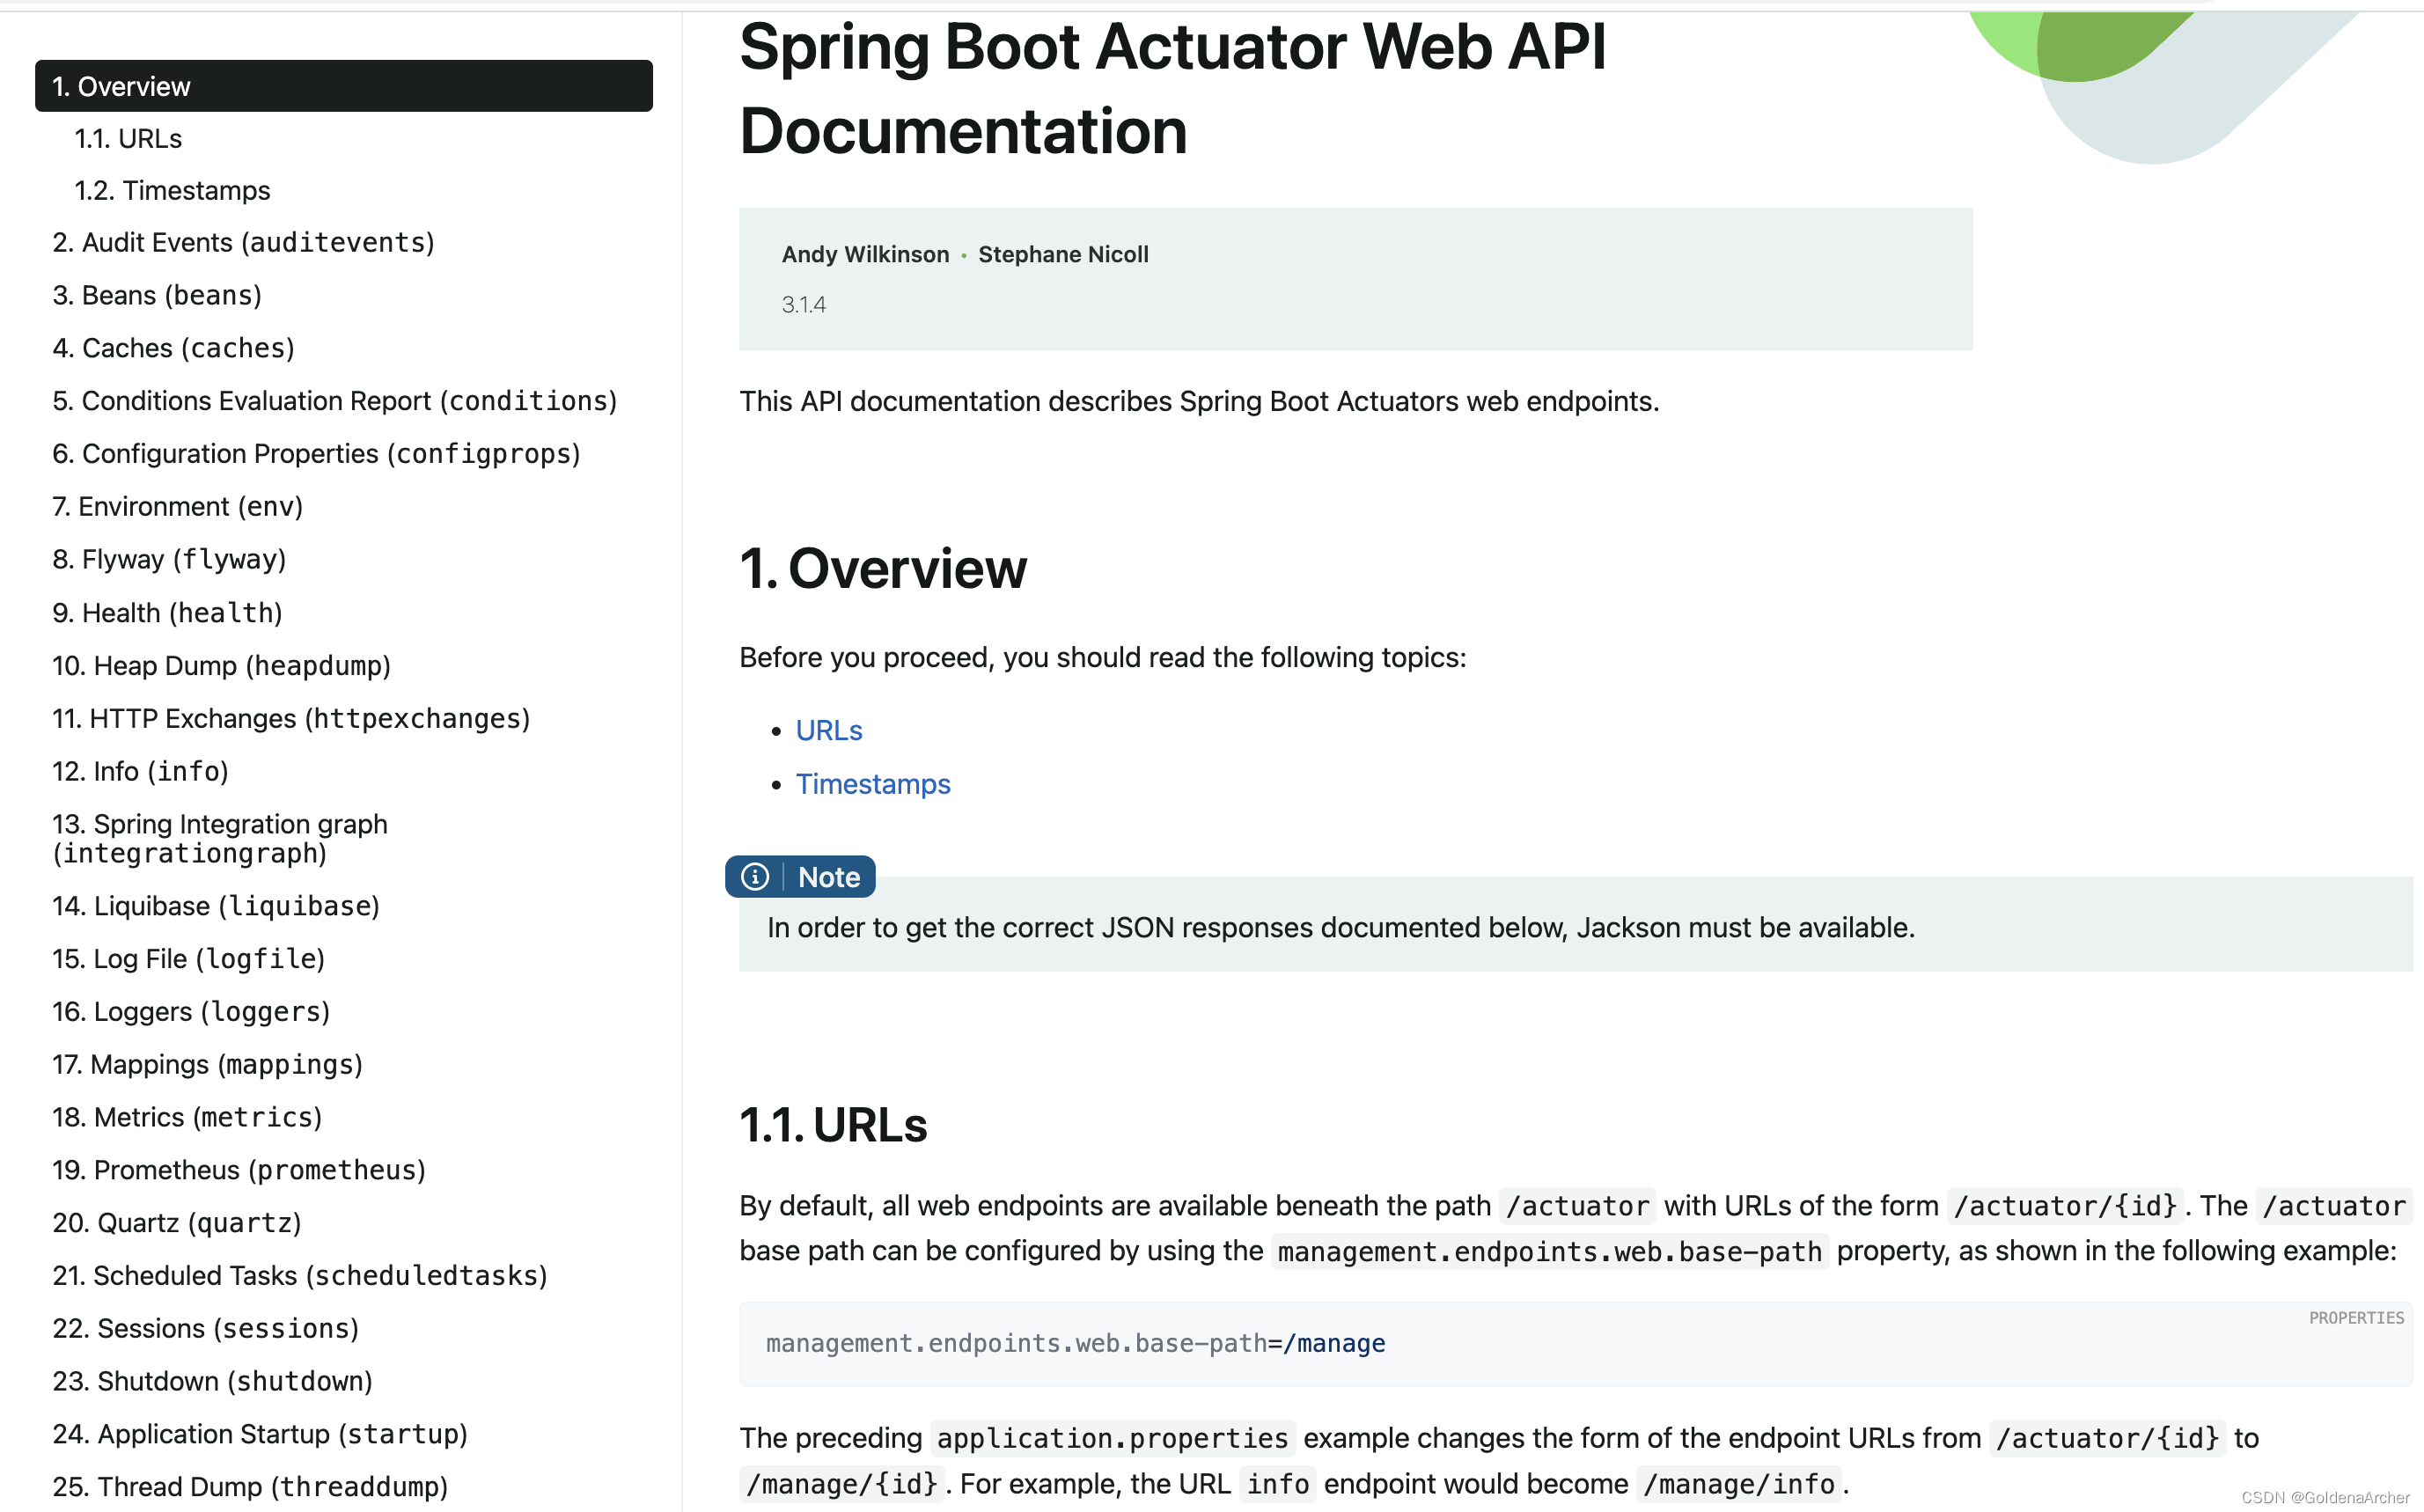
截止到现在,actuator v3.1.4 上显示有 25 个 metrics 可以访问:

访问的方式为 localhost:8080/actuator/exposed-endpoint 其中默认暴露的为 /health,其余的都需要通过手动修改
没有配置或者 exclude 的 endpoint 就会出现没有映射的报错:

actuator 配置
配置同构修改 src/main/resourcees/application.properties 实现,与 actuator 相关的配置为 management,如 endpoints 的 expose 部分如:
# 只暴露 health 和 info
management.endpoints.web.exposure.include=health,info

# wildcard 会暴露所有
management.endpoints.web.exposure.include=*

# 选择不暴露可以用 exclude 关键字
management.endpoints.web.exposure.exclude=health,info
这里的配置差别还蛮大的,具体细节还是需要找具体的文档进行实现,这里挑两个简单的说一下
info
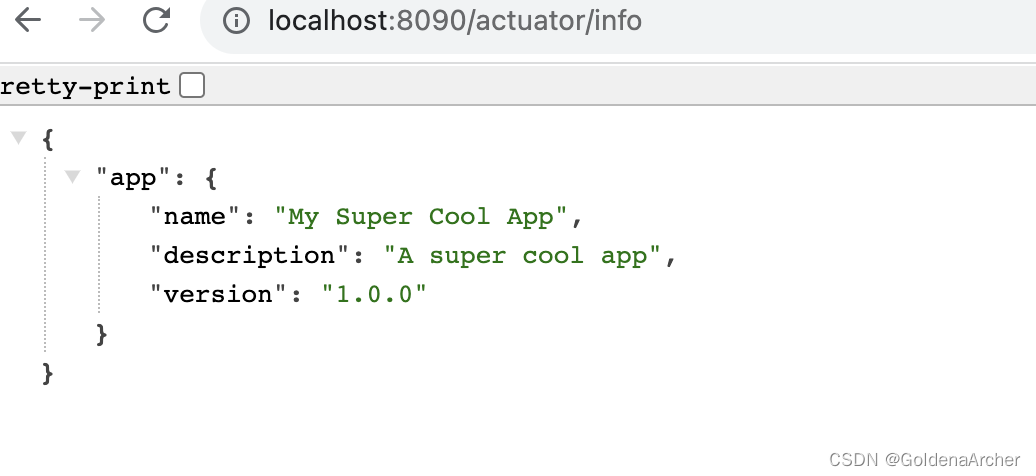
info 的修改直接在 application.properties 中就可以实现,如:
# 不 enable 无法正确显示 info
management.info.env.enabled=true

info.app.name=My Super Cool App
info.app.description=A super cool app
info.app.version=1.0.0
的结果为:

这里可以添加 app 相关的信息
除了 info 以外的其他配置
这里不完全对,但是除了 info 以外的其他配置似乎都是通过 management.endpoint.<name> 进行配置的,官方文档说这个选项用于选择特定的 endpoint 配置,如:
# 选择 beans cache live 的时间为 10s
management.endpoint.beans.cache.time-to-live=10s

# 添加 CORS 支持
management.endpoints.web.cors.allowed-origins=https://example.com
management.endpoints.web.cors.allowed-methods=GET,POST
相关配置可以在 Spring Boot Actuator: Production-ready Features 查看
security
security 的依赖如下:
		<dependency>
			<groupId>org.springframework.boot</groupId>
			<artifactId>spring-boot-starter-security</artifactId>
		</dependency>
这个基本上也相当于开箱即用,配置完了后默认需要登录才能够访问页面:

不进行任何配置的话,用户名是 user,密码为终端生成的哈希值:

用户名和密码也可以通过 application.properties 进行配置:
spring.security.user.name=user
spring.security.user.password=user
properties
properties 文件除了配置一些系统相关的变量,也可以配置一些程序内可以直接访问的变量,spring boot 已经进行相关配置,因此可以直接通过 @Value() 这个注解获得对应的变量,如:文章来源:https://uudwc.com/A/R62eR
@RestController
public class FirstRestController {
    // 获取 properties 中的信息
    @Value("${spring.security.user.name}")
    private String user;
    @Value("${spring.security.user.password}")
    private String password;

    // expose new endpoint for team info
    @GetMapping("/admininfo")
    public String getTeamInfo() {
        return "Username: " + user + ". Password: " + password;
    }
}
 文章来源地址https://uudwc.com/A/R62eR

