参考如下文章安装Synopsys EDA开发工具
https://blog.csdn.net/tugouxp/article/details/132255002?csdn_share_tail=%7B%22type%22%3A%22blog%22%2C%22rType%22%3A%22article%22%2C%22rId%22%3A%22132255002%22%2C%22source%22%3A%22tugouxp%22%7D
Synopsys EDA工具的结构

下面使用Synopsys的EDA数字综合仿真工具直观感受以下数字设计的基本流程:
数字模块设计&仿真
counter_tb.v
`include "timescale.v"
module counter_tb;
  reg irst = 0;
  reg iclk = 0;
  wire [3:0] ocnt;
  initial begin
    irst = 1; #100;
    irst = 0; #300;
    $stop;
    #1000;
    $finish;
  end
  always begin #5 iclk = !iclk; end
  counter counter_test(
    .irst(irst),
    .iclk(iclk),
    .ocnt(ocnt)
  );
  initial
  $monitor("At time %t, ocnt = %d", $time, ocnt);
  initial
  begin
    //$dumpfile("counter_test.vcd");  //$dumpvars(0, counter_test);
    $fsdbDumpfile("counter_tb.fsdb"); //testbench的名字
    $fsdbDumpvars();
    $fsdbDumpSVA();
    $fsdbDumpMDA();
  end
endmodule
timescale.v
`timescale 1ns/1pscounter.v
`include "timescale.v"
module counter(irst, iclk, ocnt );
  input irst, iclk;
  output reg [3:0] ocnt;
  always @ (posedge iclk)
    if(irst)
      ocnt <= 4'b0000;
    else
      ocnt <= ocnt + 1'b1;
endmodule
Makefile
all:
	iverilog -o counter_test $(notdir $(wildcard ./*.v))
	vvp -n counter_test -lxt2
	cp counter_test.vcd counter_test.lxt

sim:
	gtkwave counter_test.lxt

vcs:
	vcs -R -full64 -timescale=1ns/1ns -fsdb -f file.l

verdi:
	verdi -f file.l -ssf counter_tb.fsdb

clean:
	rm -fr *.lxt *.vcd
	rm -fr counter_test
file.l 是verilog源码清单文件:
counter_tb.v
counter.v
timescale.v
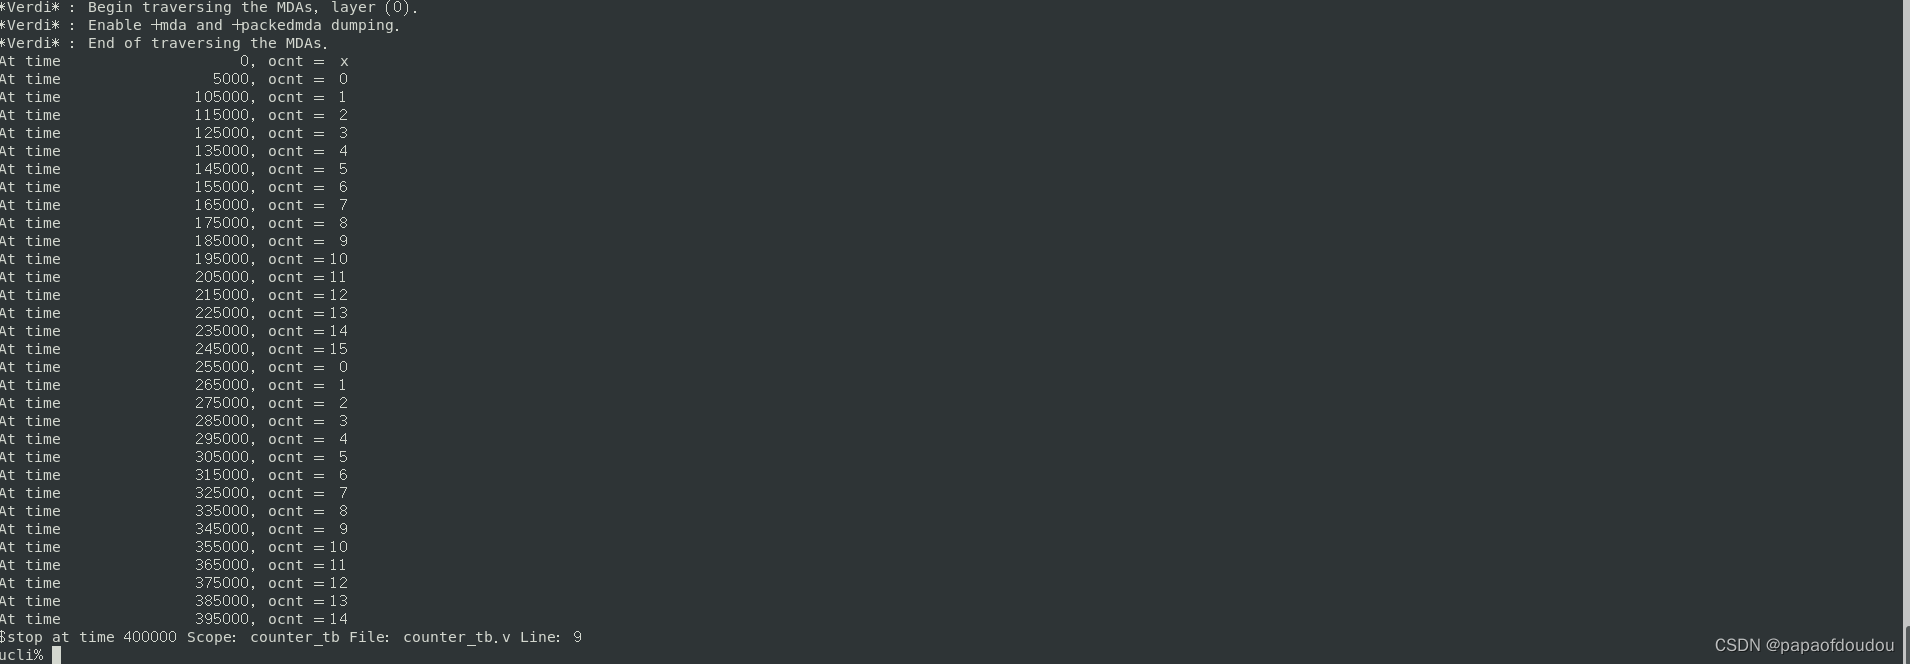
VCS编译&综合,执行make vcs:
vcs -R -full64 -timescale=1ns/1ns -fsdb -f file.l
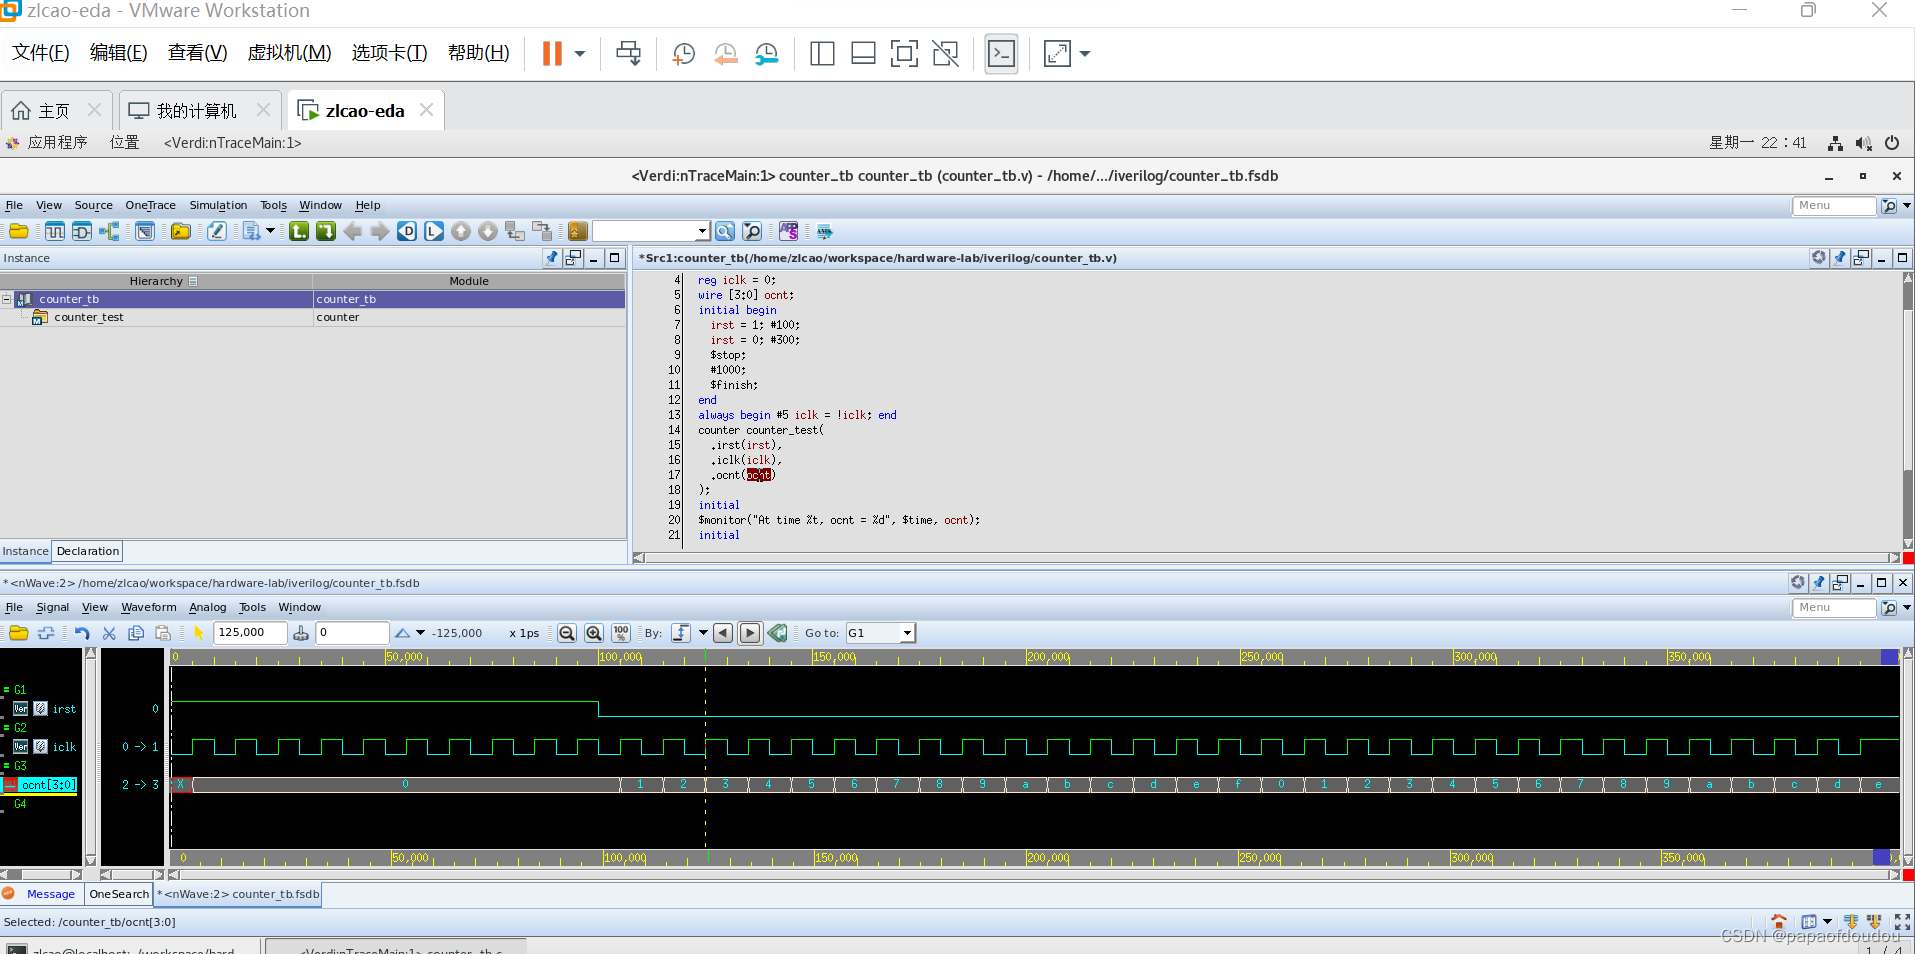
verdi查看波形,q退出ucli%,执行make verdi,实际上是执行如下命令查看波形:
verdi -f file.l -ssf counter_tb.fsdb
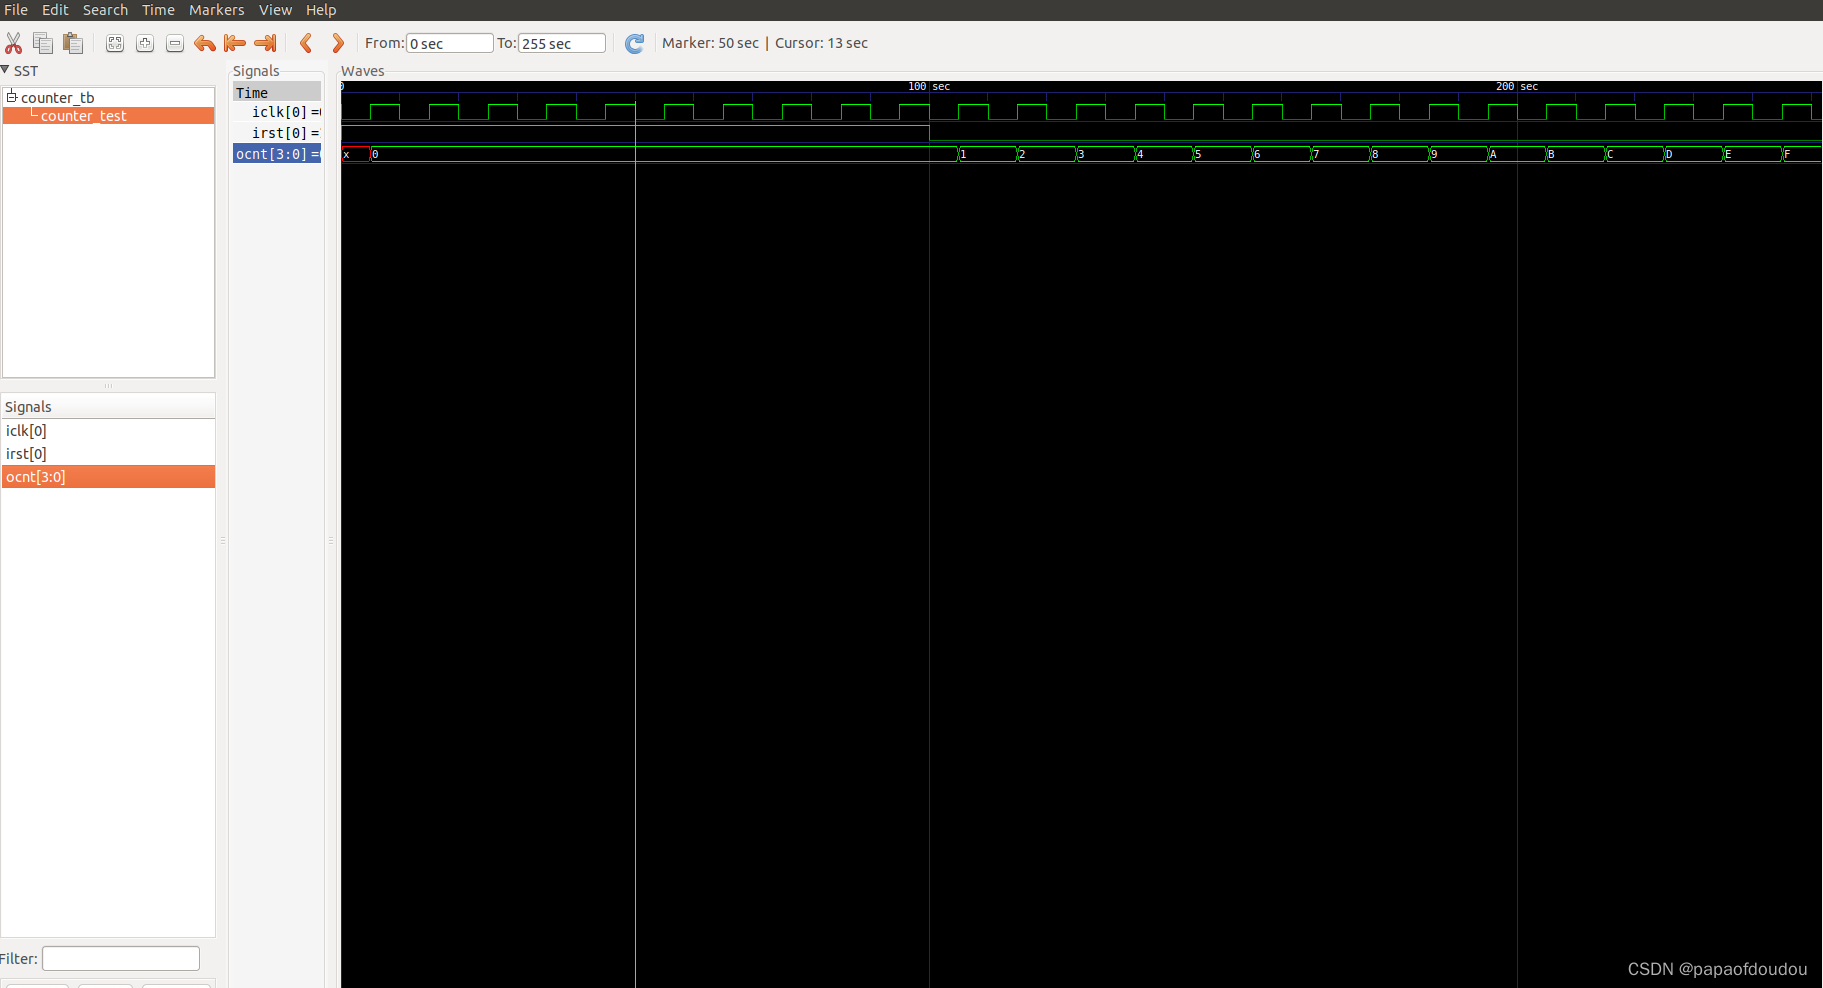
波形和GTKWAVE得到的波形是一样的:文章来源:https://uudwc.com/A/a9eY4
 文章来源地址https://uudwc.com/A/a9eY4
